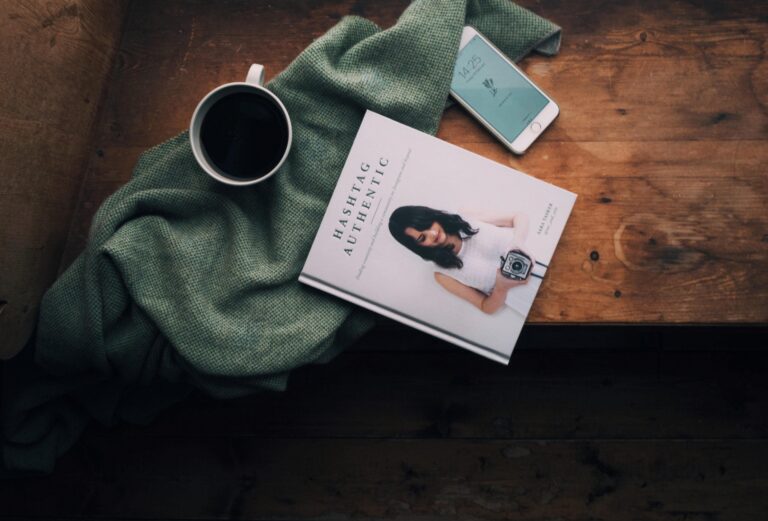
File this post under, I’m not sure; though I get asked a lot about how I take iPhone photos, I strongly suspect I’m not doing anything different to everyone else.
Still, sometimes it’s good to be reassured of that, right?
I shoot 99% of my Instagram photos using the basic camera app on my iPhone 5. Here’s how:
1: Compose shot. I always shoot the full screen, not a square, so I have the freedom to play around with my composition later, if I want.
I’m a stickler for straight lines and clean angles, so I always make sure my phone is exactly parallel with whatever I am shooting – not tipped a bit forwards or back.
I’m having trouble explaining that with words, so here’s a handy diagram:

As a general rule, I line up the camera lens with the centre of the object or scene I am shooting. If there are lots of straight lines, it can be handy to use the grid overlay to get a better sense of where the centre is, and when everything is nice and even. Of course, there are times when you don’t want to shoot something perfectly straight, but for about 90% of my shots I’m a straight up square 😀
2. Shoot. I tap the object to focus and expose, and take a couple of shots – always a couple, in case I get a bit of hand-shake on one. Sometimes I use the on-screen button, and sometimes the volume control – it depends on where and how I’m holding the phone.
Then I quickly check the shot, adjust as necessary, tap to focus again, and shoot some more. I generally shoot about 10-15 photos for any one shot, with slightly different exposures, distance and compositions. I’ve found over time I generally end up using the shots I take from a greater distance away, and cropping them down a bit.
3. Crop. As I mentioned in my post on editing, I always crop down to my finished image before applying any filters or adjustments. I make sure my lines are straight, using VSCOs ‘rotate’; I know the latest IG update lets you rotate in other dimensions, but I haven’t tried this yet!
It’s often only once I’ve cropped an image that I can really know if I’ve got THE shot – so I usually do a quick trial crop right after taking the photo, just to check.

Self portraits etc: When I post a picture showing myself, or both of my hands, it’s generally by one of two ways: a self timer app, or my human tripod ;).
With a self timer app, I make sure I have the sound turned up loud (so I know when to do my photo-face, natch), & tape my phone to anything from my kitchen light fitting to doorframes to lamposts in the street.
My human tripod is my sweet, kind & patient fiancee (hee!) Rory, & despite his occasional muddy great footprints in my shots, he’s a huge help & a total hero.
Hashtags for Instagram
Every month, I gather up a selection of winning hashtags and send them straight to your inbox, for free.
Sign up to receive my newsletters every month.


21 Comments
Leave a Comment
Laurie
September 23, 2015
I love these suggestions. I am going to use your diagram to show my boyfriend what I mean what I’m nagging him to take photos for me…! I’ve never thought of using a timer and tape either.. Thanks so much 🙂
x
Thuymi
April 15, 2015
I think all these tips are great and everyone is talking about them. But personally, I prefer balance between my web life and real life. Composition and all is great, I might follow those accounts that take forever to create a photo composition, but never I’d go to a coffee shop, take 5 minutes to set up everything and by then my coffee is cold. I mean it was an example, but seing people around me taking over 5 minutes to set up their pasta and stand on the sofa to take the flat angle picture is a little bit too much for me. Okay at home, few times in public with my boyfriend, but not for every single instagram post. I guess everyone importance or goal’s of instagram reach/audience is different.
You have a great instagram account nonetheless 🙂 Keep it up
you can follow me…more for my adventures if you’re keen! http://www.instagram.com/thuymi
Thuymi & Mitch
http://www.adventurefaktory.com
Sara Tasker
April 09, 2015
Hopefully this post, at least, should be fixed for you now Caitlin. It’s an ongoing issue and a proper headache! Thanks for the heads up xx
Caitlin
April 08, 2015
This is great and very useful. Thanks for the tips, I’m always looking for new ways to improve my iPhone photography. I’m curious though – it seems as if the diagram photo is a bit cut off and I can only see a portion of the diagram. Is it a wordpress/site hiccough or perhaps just an error on my end? 🙂
Melanie
March 19, 2015
I’ll have to have a play with the self timer, didn’t know my phone had one – whoops. And taping – who knew! Thanks for sharing 🙂
Sara
March 18, 2015
yay! Glad it was helpful! It’s also possible to just use the self timer and stand your phone up somewhere – depends how awkward the angle is! Tag me if you do try it, would love to see your results 🙂 xxx
Sara
March 18, 2015
Thanks karen! Really glad it was helpful 🙂 x
Sara
March 18, 2015
😀 so glad my diagram made you smile – I’m sure you can tell that I took a lot of time making sure it was technically accurate and totes profesh…
I suspect most people are just not obsessive enough to tape their phone up for selfies! I’m a very dedicated narcissist! 😉 x
Emily
March 17, 2015
Once again.. love the tips.. always wondered how to do a ‘selfie’ that didn’t look completely frightening.. Taping the phone is brilliant!
Karen
March 16, 2015
Thank you for this, and all your IG tips. I found the diagram particularly helpful!
Faye
March 16, 2015
Love your tips, love that you tape your phone to things (never even occurred to me, I am always just grabbing my phone and snapping away when I see a good ‘moment’). I suppose I just started instagramming as way to keep a family journal of sorts so I rarely plan out shots in advance but may have to try it as mine are so often blurry and poorly composed! What I love the most about this post though is your diagram. For reals, it made me smile 🙂 xxx
Sara
March 14, 2015
:D:D:D
Sara
March 14, 2015
‘human centipede’?
Sara
March 14, 2015
haha thank you. I’ve missed my calling, no? 😉
Sara
March 14, 2015
Thanks Diana! I’m glad it was an interesting read 🙂
& yes – i use masking tape, because it doesn’t leave any residue, but basically yes! Blue-tac is useful too! 😀 x
Sheona
March 14, 2015
Sorry there was supposed to be bemused emojis after that post!
Sheona
March 14, 2015
‘Human tripod’
Sara
March 14, 2015
Haha! Using your chin sounds even more inventive! I’m struggling to even picture that!
Diana
March 14, 2015
Great illustration too!
Diana
March 14, 2015
Fantastic post! That gives me a great insight into you – the photographer. I am glad I am not the only one standing there taking 10 s of shots and moving camera away and close to get different composition to play or edit. So interesting about how you achieve your self-protraits. When you say, you tape, do literally carry a roll of sellotape with you? Thank you for sharing.
Mina
March 14, 2015
Such a great post Sara! I like the ‘tape you phone to something’-tip! Never thought of that.. I’ve used my chin a couple of times, though. Not pretty 😉 x